How to Paint Kitchen Cabinets Like a Pro
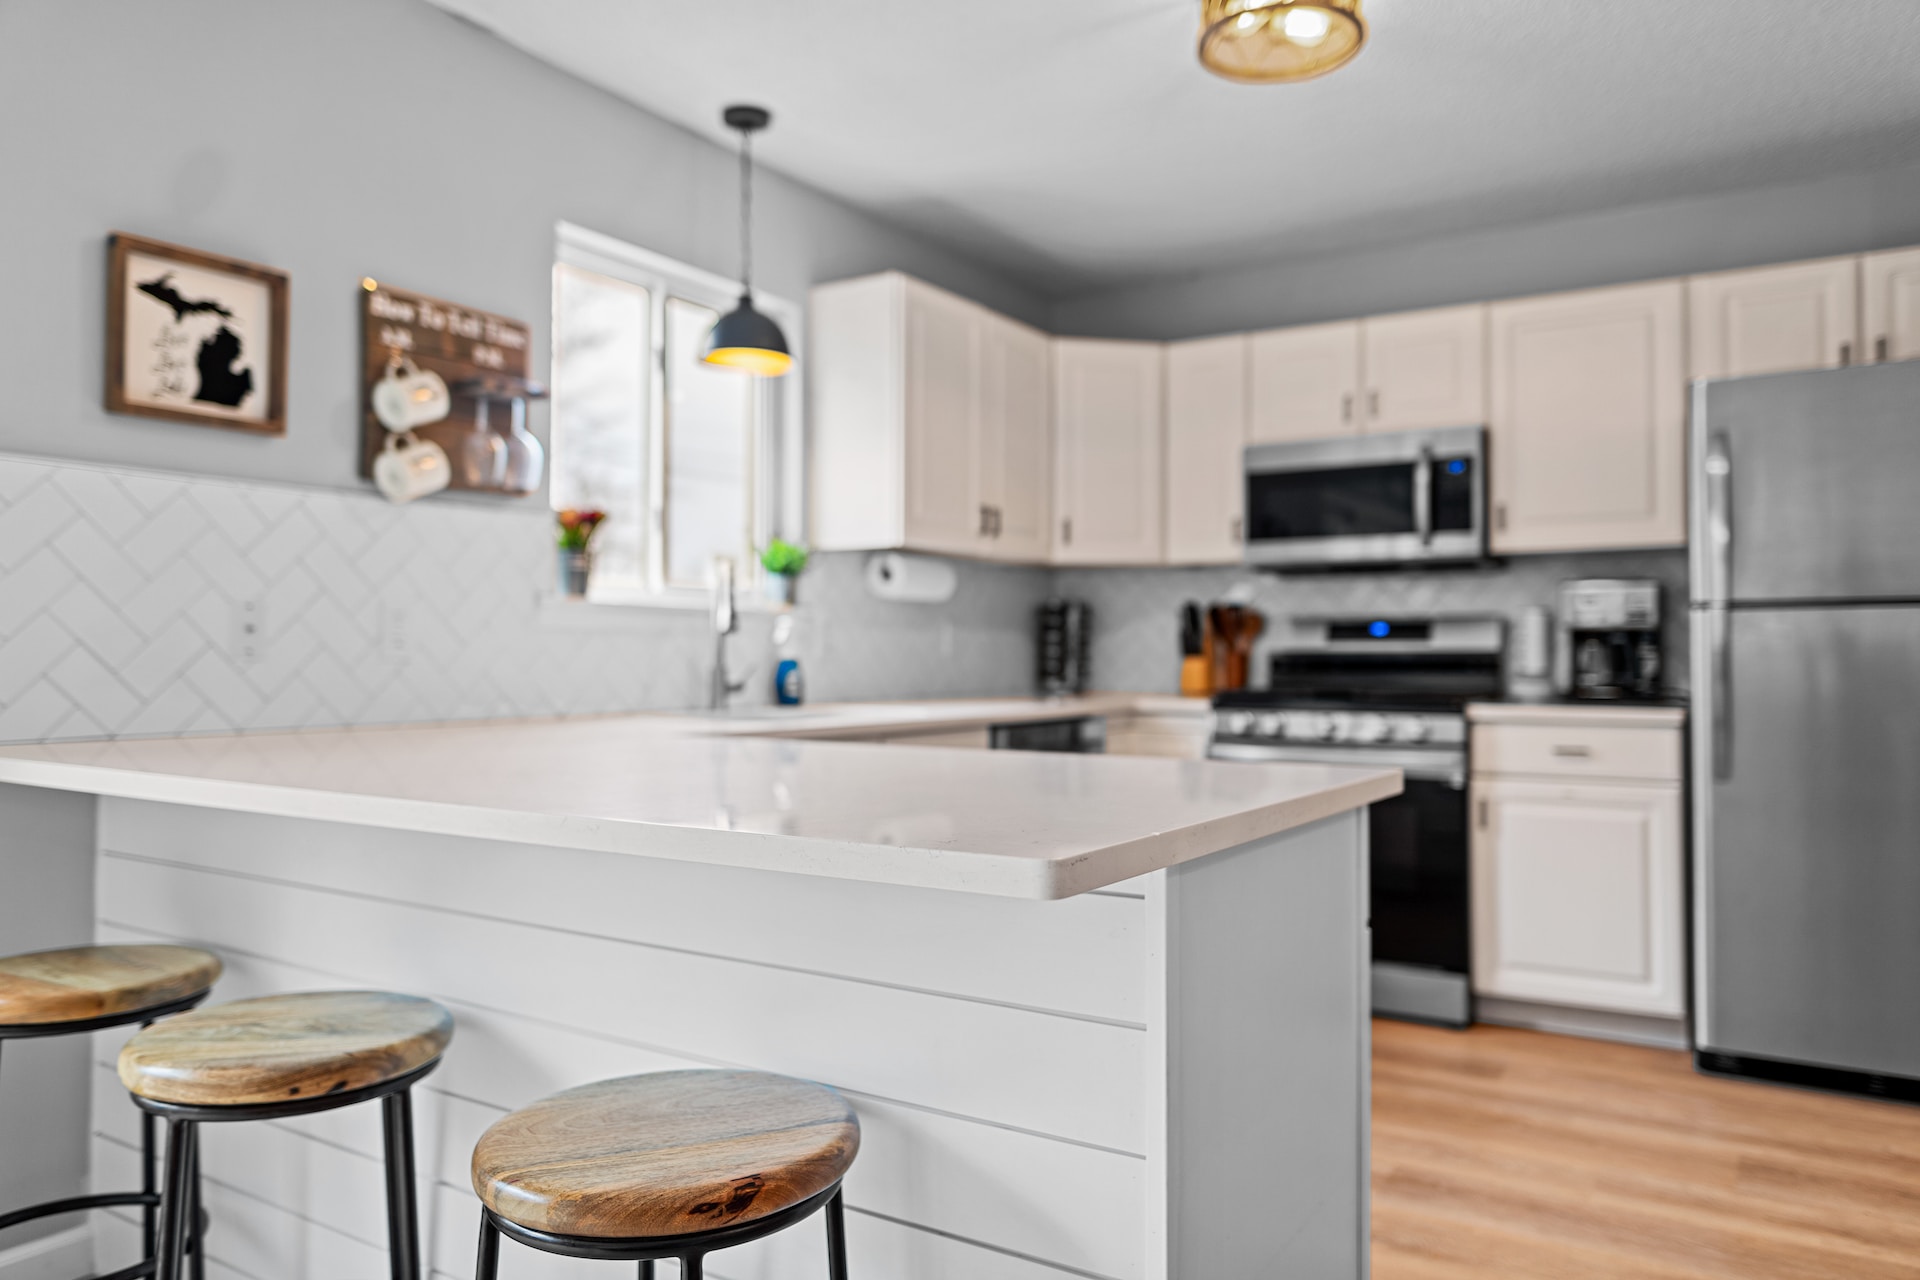
Your kitchen is the heart of your home, and updating your kitchen cabinets can dramatically impact its overall appearance. Painting your cabinets is an affordable and efficient alternative to a full remodel, instantly providing a fresh, new look. However, it’s important to follow the right steps and techniques for a successful and long-lasting result.
In this comprehensive guide, we’ll walk you through the process of painting your kitchen cabinets like a pro, tailored for homeowners in Westport, Darien, Fairfield, Monroe, Greenwich, and New Canaan, CT. From expert surface preparation to selecting the perfect paint and applying optimal painting techniques, we’ll provide you with the tips and tricks needed to transform your cabinets and revitalize your kitchen. Gear up to give your kitchen cabinets a new lease on life with confidence and style!
1. Prepare Your Kitchen and Cabinets for Painting
Before you begin painting, you must prepare your kitchen and cabinets correctly. Proper preparation will ensure a smooth painting process and professional results. Follow these steps:
- Clear your workspace: Remove all items from your kitchen countertops and move appliances or furniture away from the cabinets to provide ample workspace.
- Protect surfaces: Use drop cloths or plastic sheeting to cover your countertops and floors, and use painter’s tape to mask off any areas that should not be painted, such as hinges or hardware.
Remove cabinet doors and drawers: Carefully remove all cabinet doors, drawers, and hardware. Label each door and drawer with its corresponding location in the kitchen to ensure seamless reassembly later on.
2. Clean and Prep Your Cabinet Surfaces
Surface preparation is crucial for a flawless, long-lasting paint job on your kitchen cabinets. Here’s what you need to do:
- Clean the surfaces: Thoroughly clean all cabinet surfaces with a strong degreaser to remove any grease, grime, or residue, especially during winter and autumn when kitchen cabinets may accumulate dirt faster due to increased indoor cooking. Rinse with clean water and allow the surfaces to dry completely.
- Sand the surfaces: Lightly sand all cabinet surfaces with fine-grit sandpaper (180 to 220 grit) to remove any existing finish and provide better paint adhesion. Be sure to wear a mask to protect yourself from dust particles.
- Fill any holes or cracks: If your cabinets have any dents, chips, or cracks, fill them with wood filler, then sand the surface smooth once it’s dry.
- Wipe down the surfaces: Remove any dust residue from sanding by wiping down the surfaces with a tack cloth or a damp rag. Allow the surfaces to dry completely before applying primer or paint.
3. Apply Primer to Your Cabinets
Primer is essential in painting kitchen cabinets, as it ensures better paint adhesion and a more even, long-lasting finish. Take the following steps to prime your cabinets properly:
- Choose the right primer: Select a high-quality primer formulated for use on cabinets, which provides excellent adhesion and stain-blocking properties. Oil-based primers are typically recommended for durability, but water-based options are now available with similar performance.
- Apply primer to cabinet surfaces: Use a high-quality brush or foam roller to apply the primer in smooth, even strokes. Focus on covering all crevices and corners, especially on raised or decorative cabinet faces.
- Allow the primer to dry: Let the primer dry according to the manufacturer’s instructions, typically between 2 to 4 hours. Well-ventilated areas and room temperature conditions are essential for proper drying, especially during winter and autumn.
4. Select the Right Paint and Painting Tools
Choosing the appropriate paint and painting tools will ensure a professional-looking cabinet finish. Keep these factors in mind:
- Type of paint: Use a high-quality paint specifically formulated for cabinetry. Acrylic enamel or alkyd paint is recommended for its durability and easy-to-clean finish. Select a satin, semi-gloss, or gloss finish for improved resistance to moisture and stains.
- Color selection: Consider the overall design of your kitchen and choose a color that complements your existing décor. Neutral shades are timeless and versatile, while bold colors can make a statement.
- Choose the proper painting tools: High-quality brushes and foam rollers are crucial for achieving a smooth, even finish without brush marks or texture.
5. Painting Your Cabinets
Now that your surfaces are prepped and you’ve selected your paint, follow these steps to paint your cabinets professionally:
- Apply the first coat of paint: Using a brush or foam roller, apply the paint to your cabinet surfaces in smooth, even strokes. Be sure to work from top to bottom and pay close attention to any grooves or decorative elements.
- Allow the paint to dry: Let the first coat of paint dry according to the manufacturer’s instructions. Drying times can vary based on temperature and humidity, with longer durations during colder winter or damp autumn months.
- Lightly sand between coats: For a smooth, even finish, lightly sand the surfaces with fine-grit sandpaper before applying additional coats. Wipe down the surfaces with a tack cloth to remove any dust.
- Apply additional coats: Repeat the painting and sanding process for at least two to three coats, depending on the level of coverage desired. Remember to let each coat dry and sand in between.
6. Reassemble Your Cabinets
Once the paint is completely dry, it’s time to reassemble your cabinets and admire your professional-looking results. Follow these steps:
- Reattach hinges and hardware: Carefully reattach your cabinet hinges, hardware, and any other removed components.
- Reinstall doors and drawers: Using your earlier labeling system, reattach cabinet doors and reinstall drawers in their proper locations.
- Remove masking tape and protective coverings: Carefully remove any remaining painter’s tape and protective materials from your kitchen surfaces.
Upgrade Your Kitchen with Regal Line Painting
Achieving professional-quality results when painting your kitchen cabinets can be easily accomplished by following this step-by-step guide. However, if you’d prefer expert assistance with your project, Regal Line Painting is here to help. Our experienced team specializes in cabinetry painting, ensuring a top-notch, long-lasting transformation for your kitchen in Westport, Darien, Fairfield, Monroe, Greenwich, and New Canaan, CT.
Don’t hesitate to contact Regal Line Painting today to discuss your kitchen cabinet painting needs. Trust our skilled professionals to deliver high-quality service and an impeccable finish that elevates the look and feel of your kitchen. Make your dream kitchen a reality with Regal Line Painting!
